Serve your model with Kserve on Kubeflow
You can serve your own model using Kserve on kubeflow with this walkthrough.
Test Environment
- Provisioning machine - Ubuntu 18.04
- Node machines - Ubuntu 20.04
- deepops - 22.08
- kubernetes - 1.23.7
- kubeflow - 1.6.1
Walkthrough
0. Prerequisition
- Kubeflow installed on Kubernetes
- Python packages(libraries) installed
- kubernetes
- kserve
- minio
1. Upload your model to storage
For serving a model with Kserve on Kubernetes, you should upload your trained model at any accessable storage. In this walkthrough, we use MinIO which Kubeflow already has.
At first, MinIO service isn’t expose by default. So you should enter the command for port-forwarding.
kubectl port-forward -n kubeflow svc/minio-service 9000:9000
# You can add option '--address 0.0.0.0' if you want to access from another remote machine.
Now, you can access your MinIO webpage at http://localhost:9000 or http://YOUR_KUBECTL_MACHINE_IP:9000
The defalut account for your MinIO is minio with password minio123. After logging in, you can see your MinIO Brower with default bucket mlpipeline.
Upload your model to any path you want. The model should have been exported properly for serving. (e.g Model archiver of PyTorch, Saved model of Tensorflow)
Also you can use python script for uploading.
from minio import Minio

minio_client = Minio(
        "localhost:9000",
        access_key="minio",
        secret_key="minio123",
        secure=False
    )
minio_bucket = "mlpipeline"


import glob

def upload_local_directory_to_minio(local_path, bucket_name, minio_path):
    assert os.path.isdir(local_path)

    for local_file in glob.glob(local_path + '/**'):
        local_file = local_file.replace(os.sep, "/") # Replace \ with / on Windows
        if not os.path.isfile(local_file):
            upload_local_directory_to_minio(
                local_file, bucket_name, minio_path + "/" + os.path.basename(local_file))
        else:
            remote_path = os.path.join(
                minio_path, local_file[1 + len(local_path):])
            remote_path = remote_path.replace(
                os.sep, "/")  # Replace \ with / on Windows
            minio_client.fput_object(bucket_name, remote_path, local_file)

upload_local_directory_to_minio("uploading",minio_bucket,os.path.join(minio_model_path,model_name,model_version))
2. Create a service account to access the storage
Our model server have to access the MinIO service because the model file is stored in there. So, we create a service account with a secret which has the MinIO account.
apiVersion: v1
kind: Secret
metadata:
  name: minio-kserve-secret
  namespace: kubeflow-user-example-com
  annotations:
     serving.kserve.io/s3-endpoint: "minio-service.kubeflow:9000"
     serving.kserve.io/s3-usehttps: "0"
     serving.kserve.io/s3-useanoncredential: "false"
type: Opaque
stringData:
  AWS_ACCESS_KEY_ID: "minio"
  AWS_SECRET_ACCESS_KEY: "minio123"
---
apiVersion: v1
kind: ServiceAccount
metadata:
  name: sa-minio-kserve
  namespace: kubeflow-user-example-com
secrets:
- name: minio-kserve-secret
3. Create a model server
Then, you can create your model server on Kubeflow with various way. In this walkthrough, we use the Notebook of kubeflow.
First, create a new notebook on your Kubeflow server. You can use any python based image for the notebook.
When the notebook is created successfully, connect to the notebook. Then, install required python libraries in the notebook server and run the script for creating model server.
# On your a new terminal on notebook server
pip3 install kubernetes kserve
import argparse

from kubernetes import client
from kserve import KServeClient
from kserve import constants
from kserve import utils
from kserve import V1beta1InferenceService
from kserve import V1beta1InferenceServiceSpec
from kserve import V1beta1PredictorSpec
from kserve import V1beta1TorchServeSpec

minio_path = 'models/yolo/1.0' # Change this to yours
name = 'my-model-server'
kserve_version = 'v1beta1'

namespace = utils.get_default_target_namespace()
api_version = constants.KSERVE_GROUP + '/' + kserve_version

isvc = V1beta1InferenceService(api_version=api_version,
                                kind=constants.KSERVE_KIND,
                                metadata=client.V1ObjectMeta(
                                    name=name, namespace=namespace, annotations={'sidecar.istio.io/inject':'false'}),
                                spec=V1beta1InferenceServiceSpec(
                                predictor=V1beta1PredictorSpec(
                                    service_account_name="sa-minio-kserve",
                                    min_replicas=1,
                                    max_replicas=4,
                                    timeout=60, # Seconds
                                    pytorch=(V1beta1TorchServeSpec(
                                        storage_uri="s3://mlpipeline/"+minio_path,
                                        resources=client.V1ResourceRequirements(
                                            limits={
                                                "cpu": "2000m",
                                                "memory": "4Gi",
                                                "nvidia.com/gpu": "1"
                                                }
                                        )))))
)

KServe = KServeClient()
KServe.create(isvc)
4. Test the model server
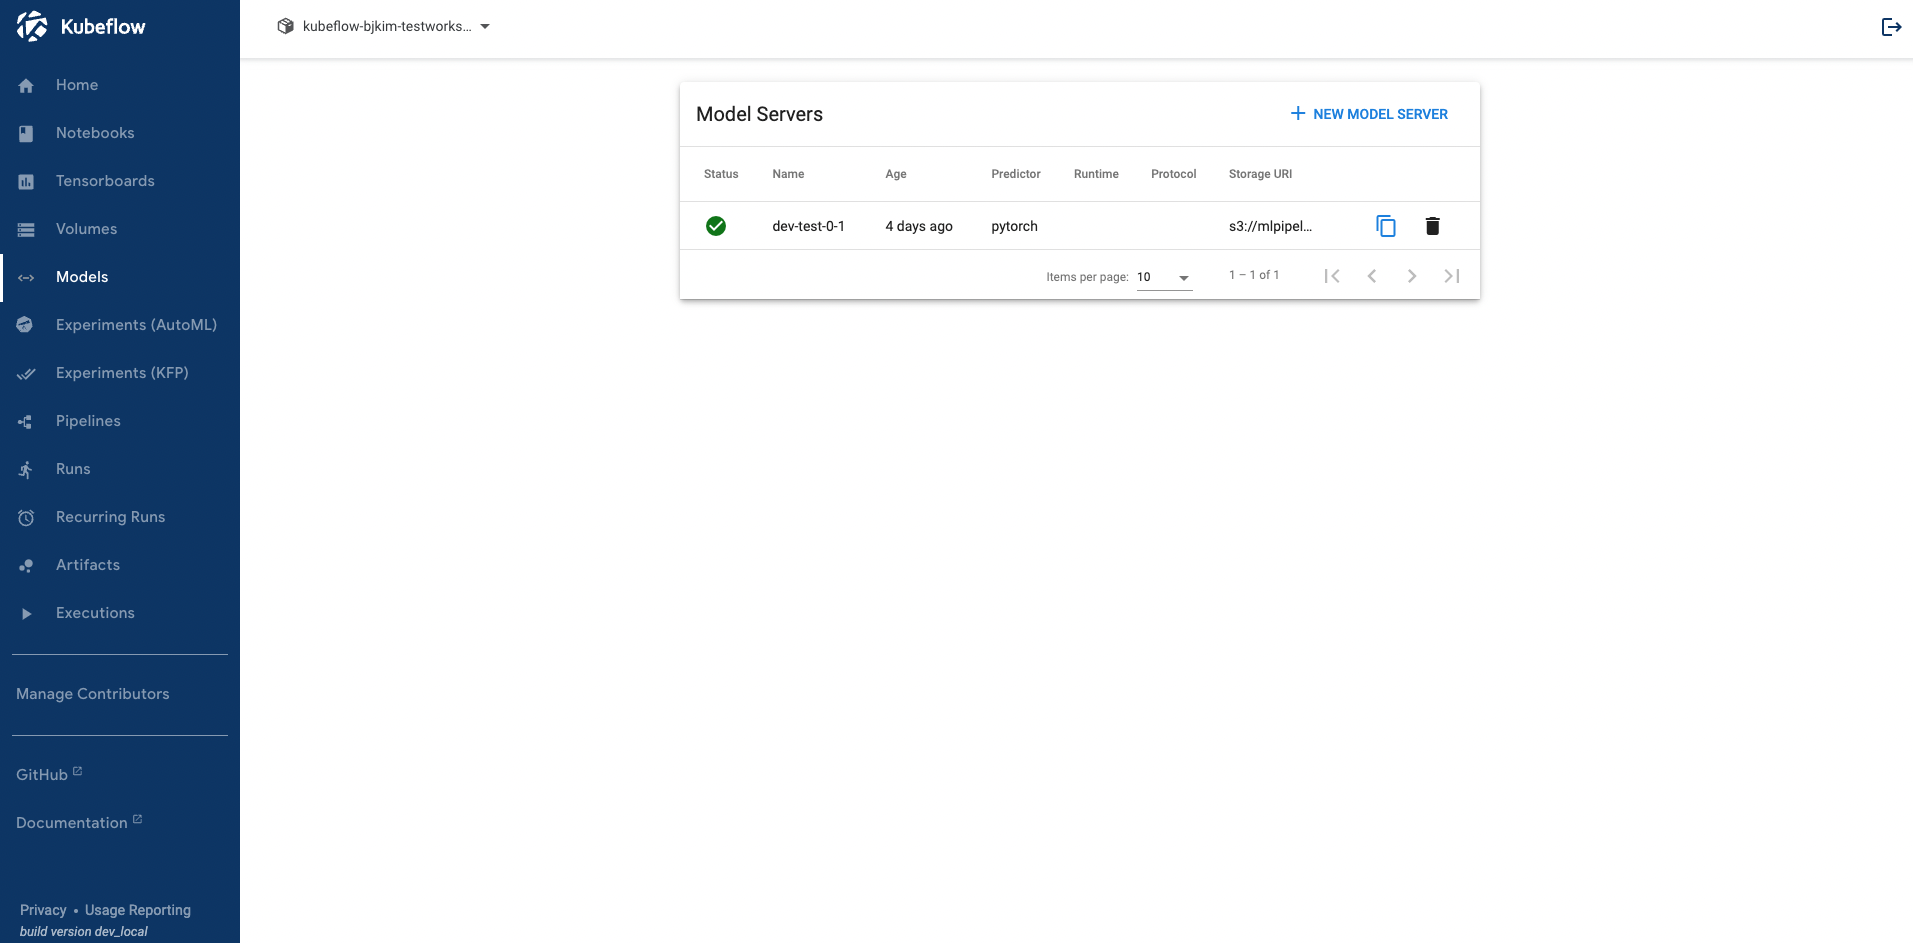
Now, you can see your model in ‘Models’ menu on the kubeflow.
Let’s make a prediction request to your model. In this walkthrough, we make request for object detection with base64 encoded string of an image.
# Kubeflow account
import base64
import json
import argparse

from kserve import KServeClient
import requests
import kfp

KF_HOST = "YOUR_KUBEFLOW_SERVER_HOST"
KF_USERNAME = "YOUR_KUBEFLOW_USERNAME"
KF_PASSWORD = "YOUR_KUBEFLOW_PASSWORD"
KF_NAMESPACE = "YOUR_KUBEFLOW_NAMESPACE"

TEST_IMAGE = "YOUR_IMAGE_PATH"

session = requests.Session()
response = session.get(ADDRESS)

headers = {
    "Content-Type": "application/x-www-form-urlencoded",
}

data = {"login": USERNAME, "password": PASSWORD}
session.post(response.url, headers=headers, data=data)
session_cookie = session.cookies.get_dict()["authservice_session"]

cookies = {"authservice_session": session_cookie}
response = requests.get(f'{ADDRESS}/kserve-endpoints/api/namespaces/{NAME_SPACE}/inferenceservices', cookies=cookies)
isvc_names = []
hosts = []
for isvc in json.loads(response.text)['inferenceServices']:
    isvc_names.append(isvc['metadata']['name'])
    hosts.append(isvc['status']['url'].replace('http://',''))
print('isvc_names', isvc_names)
isvc_index = int(input('Select isvc (0 ~ ):'))

with open(TEST_IMAGE, "rb") as img_file:
    img_string = base64.b64encode(img_file.read()).decode('utf-8')

img_input = json.dumps({
    "instances": [{ "data" : img_string }]
})

host = hosts[isvc_index]
cookies = {'authservice_session': session_cookie}
headers = {'Content-Type': 'application/json', 'Host': host}

# Model server health check
live_res = requests.get(ADDRESS+'/v2/health/live', headers=headers, cookies=cookies)
print(live_res.text)

# Get model name
name_res = requests.get(ADDRESS+'/v1/models', headers=headers, cookies=cookies)
model_name = json.loads(name_res.text)[0]

infer_res = requests.post(ADDRESS+f'/v1/models/{model_name}:predict', headers=headers, cookies=cookies, data=img_input)
prediction = json.loads(infer_res.text)

print(json.dumps(prediction, indent=2))
99. FAQ
- Model server get stuck in
Wating for load balancer to be readyand not completely created.
# If you faced to Wating for load balancer to be ready with this command
kubectl get ingresses.networking.internal.knative.dev -n kubeflow-user-example-com {YOUR_PREDICTOR} -o yaml
# Restart the istio ingress gateway
kubectl rollout restart deployment -n istio-system istio-ingressgateway
- How to serve model with custom domain name?
# Specify your custom domain in the data section of your configmap and remove the default domain
kubectl edit configmap config-domain -n knative-serving

# Reference:
# https://github.com/kserve/kserve/tree/master/docs/samples/custom-domain
- How to serve other machine learning frameworks? (Tensorflow, Scikit learn, XGboost, ONNX, …)
# You can import and use other frameworks
from kserve import V1beta1SKLearnSpec
from kserve import V1beta1TFServingSpec
from kserve import V1beta1TorchServeSpec
from kserve import V1beta1TransformerSpec
from kserve import V1beta1TritonSpec
from kserve import V1beta1XGBoostSpec

# For a detail instruction, you can refer Kserve python SDK documentation:
# https://kserve.github.io/website/0.10/sdk_docs/sdk_doc/
Leave a comment